
Octoscrolla Setup
The below screenshots show the most basic setup for setting up 1 1/8th scan P10 panel on an Octoscrolla. The screenshots are for FPP version 2.5 and are for the most basic setup and with the BBB/Octoscrolla running in bridge mode rather than master or slave.
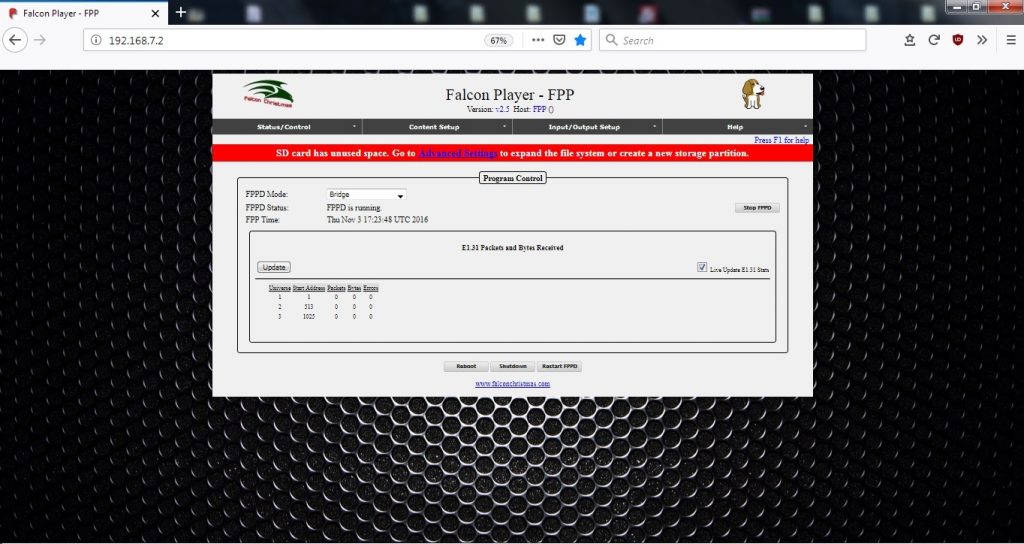
The first screenshot shows the status page with the BBB in bridge mode meaning that it is working as an E1.31 controller.
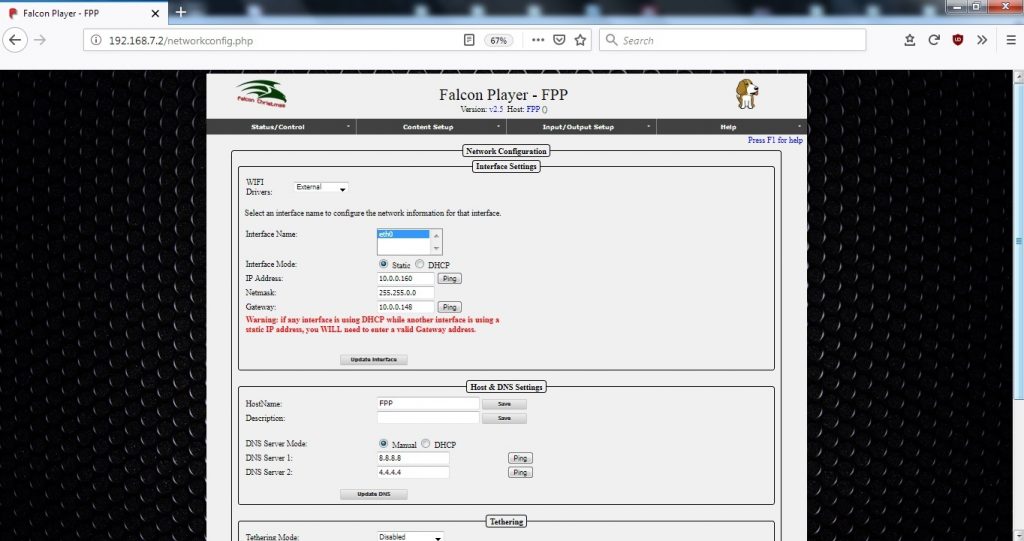
The second screenshot shows the network setup page with a static IP set to 10.0.0.160 which is a suitable IP for my computer network. 10.0.0.x and 192.168.0.x are the 2 most common ranges. The netmask of 255.255.0.0 allows connection between 10.0.0.1 and 10.0.255.255. The gateway IP is the IP of the router that it is connected to. Access to the BBB can be made at initial setup via 192.168.7.2 when connected from a PC direct to the BBB via a USB cable. A virtual Ethernet port is created.
The third screenshot shows the input setup screen which shows the 3 universes that make up 1 P10 panel. In this case they are set to universes 1 to 3 and FPP channel numbers 1-1536. The universes are set to multicast for the sake of ease. The universes in FPP and also in the sequencer must both be set to 512 channel universes.
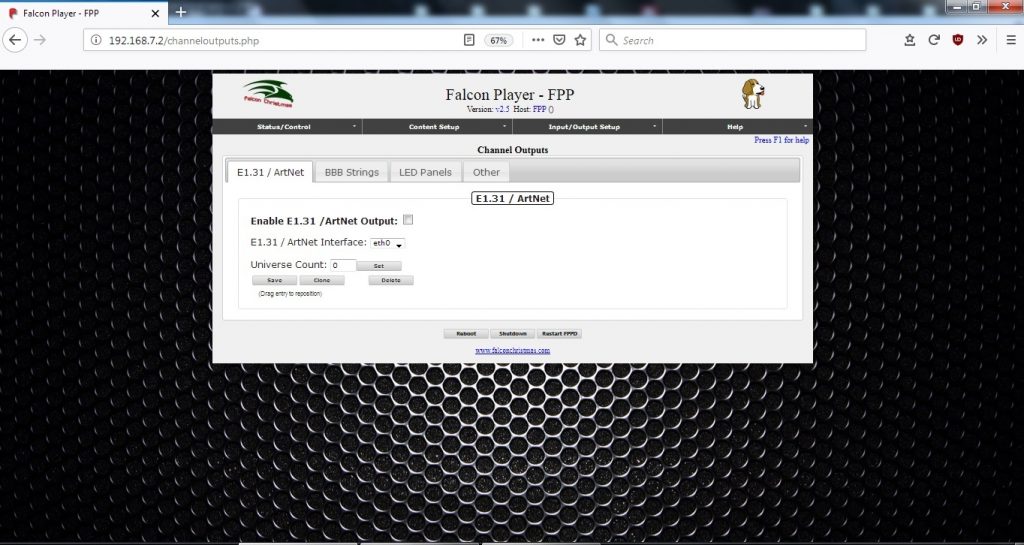
The fourth screenshot shows the E1.31 outputs which don’t need to be defined (on FPP 2.x) and the E1.31 output doesn’t need to be selected as it is running in bridge mode and therefore not sending out sequence data.
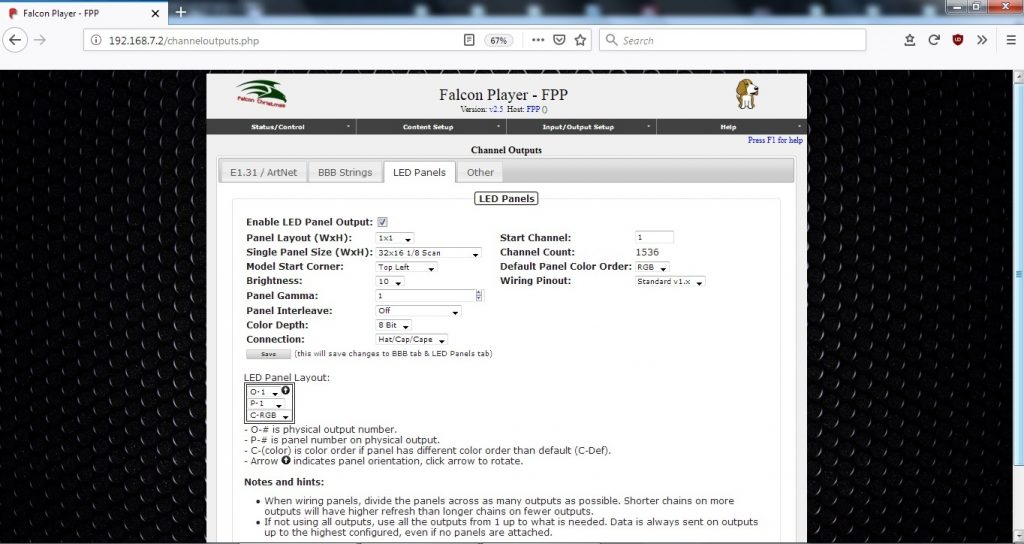
The fifth screenshot shows a 1 by 1 matrix connected to output 1 of the Octoscrolla.

An easy way to jump straight to a “working” setup is to download the FPP backup file that matches this configuration. The file needs to be unzipped and then from the Status/Backup page on FPP browse to and select the “FPP_octoscrolla backup.json” file. Click on the “restore configuration” radio button and after it is done and a restart of the FPPD has been done then the configuration should match the above screenshot configuration. The network setup may need to be done to suit your needs.

